As a part of the Web Host Manager, cPanel helps you to simplify your web hosting. The cPanel is nothing but a Linux-based Control Panel that different web administrators use in their website hosting. It utilizes a three-tier structure that offers different capabilities for controlling numerous aspects of the website. However, if you are willing to migrate your website from your existing web hosting provider to a new one, then you can do so with this cPanel. There are different factors that you need to take care of while migrating your website.
Utilizing The Backup And Restore Feature
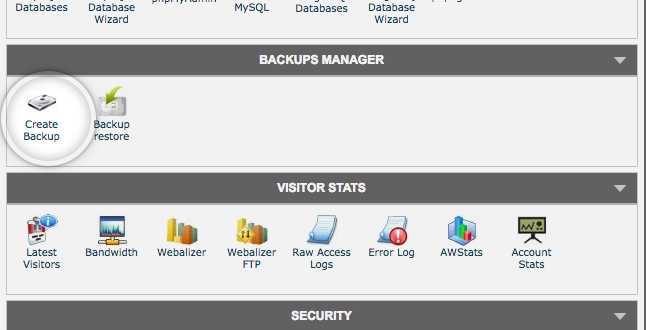
cPanel provides a simple yet powerful tool to create restore and backups for your website. There are different steps that you should follow in order to back up the data of your website.
Backup
With the help of this feature, you can create a backup of your entire website content. It includes all your files, databases, email accounts, SSL certificate, configuration files, and so on which you can keep safe when you are transferring your website to another web host. You can even download your backup of these web files to your local directory by using the FTP. Using the email alerts option, you will know when you are taking the backups.
Restore
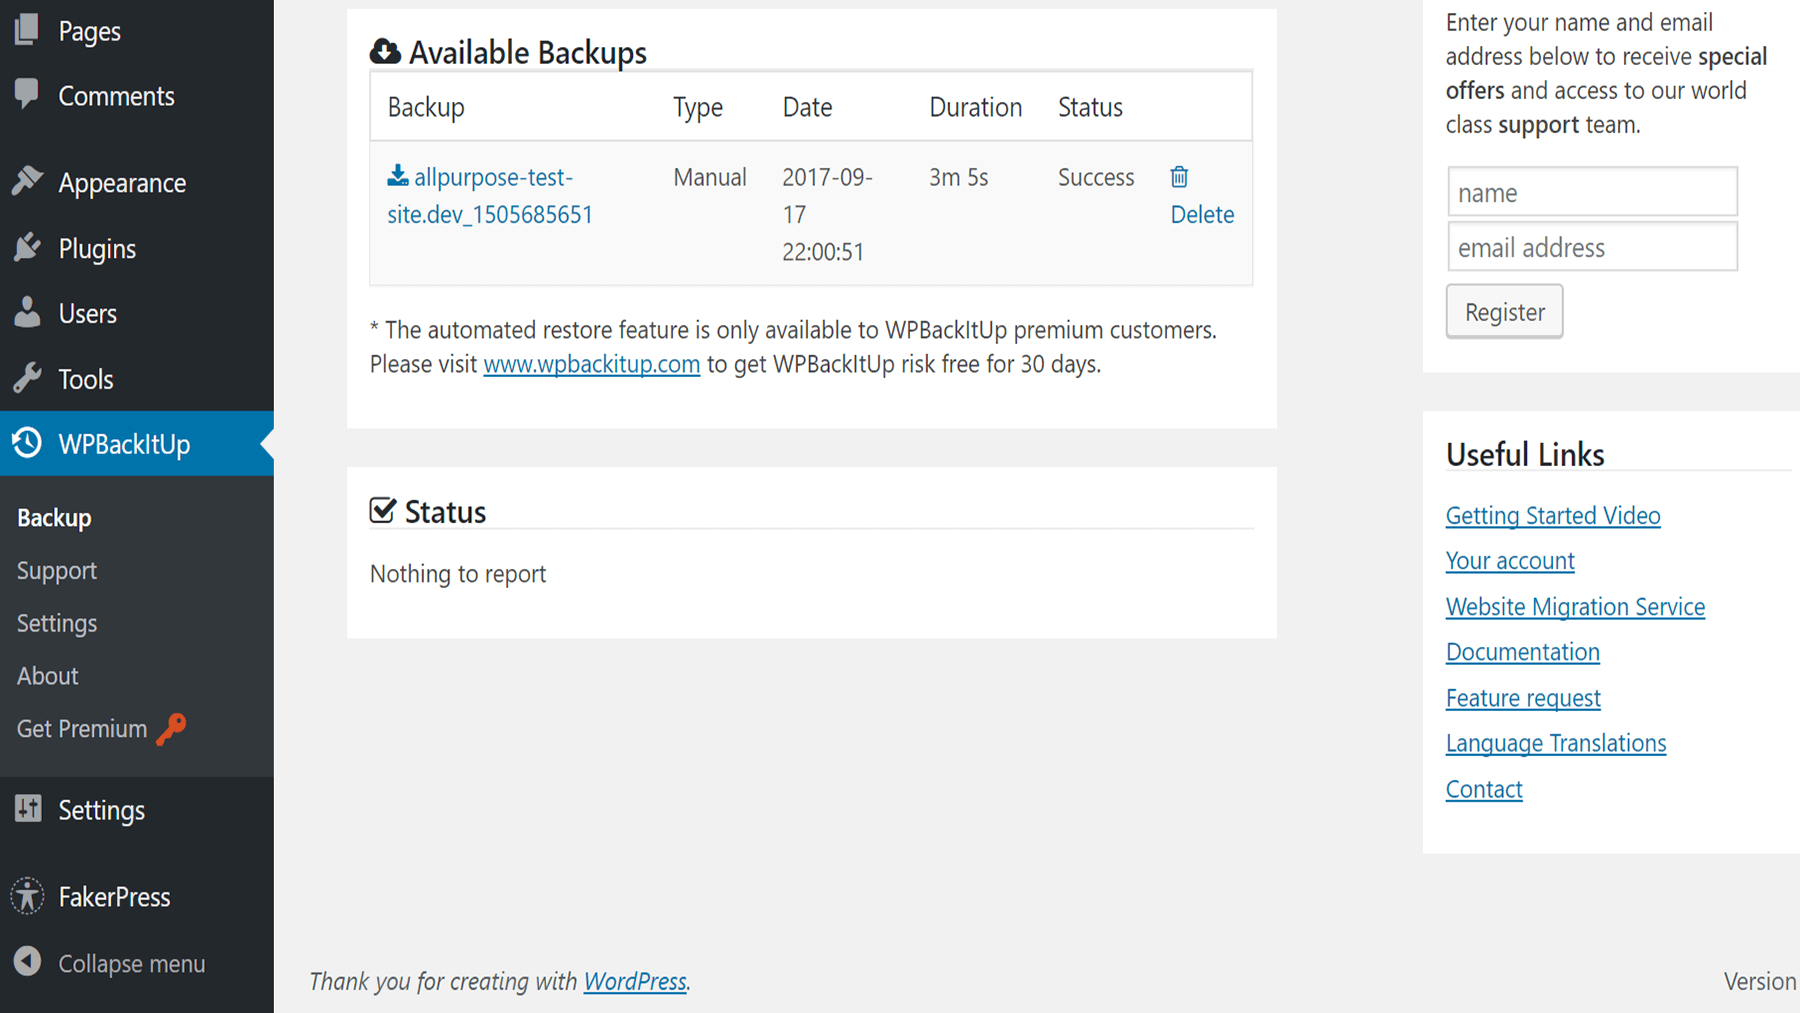
If you are done with the backup process, then you may need to restore them. In order to do so, there are multiple steps that you can follow to restore the different files of your website. At first, you need to open the cPanel and then go to the Files section of the menu. Now, click on the Backup Wizard option. Once the Backup Wizard tab opens, you need to go to the Restore page in that dialog box. By following the steps, you can easily restore the Home directory of the cPanel hosting account.
However, migrating to a new web host requires a lot of steps to follow which are mentioned in the section below.
Download And Backup The Website Files
Among the many steps involved in migrating your website to a new website, you can generate a backup using the cPanel. In order to so, follow the steps as mentioned below.
Step 1:
You have to log in to your cPanel account at the very beginning of the process.
Step 2:
After logging in, you have to click on the Backups icon from the Files section of the menu.
Step 3:
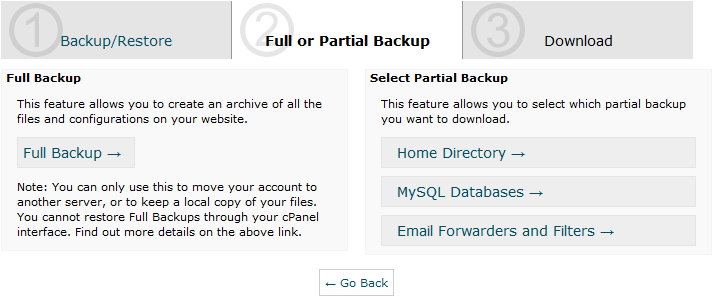
You will find three different options out there on the menu where you have to click on the Full Backup option.
Step 4:
After that, you have to click on the ‘Generate/Download a Full Website Backup’ option to download the backup.
Step 5:
On the next page that appears, select the Home Directory option from the drop-down menu.
Step 6:
If you want notifications regarding your backups, then you can turn on the Email alerts from the options.
Backup And Export The Database
In your website, there must be a database that holds all the information of users. Thus, when you are transferring from one domain registrar to another, then you need to export the database also. For that reason, you can follow the section below in order to export the database of your site using the cPanel.
- First, you have to log in to your cPanel hosting account.
- Now, select the phpMyAdmin by scrolling down to the database section of the Home screen.
- From the left navigation tree of the phpMyAdmin menu, you have to select the database for the site you are trying to migrate.
- After that, click on the Export tab that you can find on the horizontal list from the top menu.
- Choose the Quick Export method from the drop-down menu and then click on the Go option to successfully export the database.
Following these steps, you can have the full convenience to export the database and take it as a backup for your future use.
Set-Up The Domain And New Database On New Hosting Account
After taking a complete klonopin no prescription needed backup of the database, now you need to set up the domain for the site. You can reconfigure the database for the new site by the previous database that you have exported. There are several domain registrars where you can create your new hosting account. The steps of reconfiguring the new site differ according to the hosting services.
Import The Database
Coming to the process to restore the database to the new web host, you should import it on your new website. You can import the database that you have backed up previously by following the given steps.
Step 1:
Open the phpMyAdmin menu at the very first step of the process.
Step 2:
Next, you have to click on the Database section that appears at the top horizontal bar.
Step 3:
After that, click on the name of the database that you want to import for your website.
Step 4:
Click on the Import section that you will find on the menu.
Step 5:
Click on the Choose File option and select the database that you want to import for the website that you are migrating.
Step 6:
Usually, the database stays with the .sql or .zip extension in the directory. So, select the file and click on the option called Go that you can find on the bottom section of the menu.
Once you complete these steps, you won’t face any difficulties importing the database into your new host.
Upload the Site Files
After importing the database, now you need to upload your site files. In order to do that, you have to log in to the website hosting account at first. Then, go to the cPanel Account section where you have to click on the option called Manage. After that, click on the cPanel Admin from the menu that appears before you. Under the section called Files, you have to click on the File Manager option. From the directory, select the files that you want to upload and repeat the entire process.
Update The Domain Name Server Settings With Your Domain Registrar
Sometimes, updating the Domain Name Server settings seems a bit tough. If so, then don’t worry, we are going to discuss the different steps by which you can update the DNS settings without any hassle.
- At the very beginning of the process, you have to log in to the web host account.
- Under the menu section, you will find My Domains, click on it to proceed further.
- Click on the domain name that you are working with for your website.
- Next, click on the DNS Server settings from the drop-down list to update the settings.
- After that, choose the server and click on the Save option to successfully save the changes.
Review The Site Settings In WordPress Or Another CMS
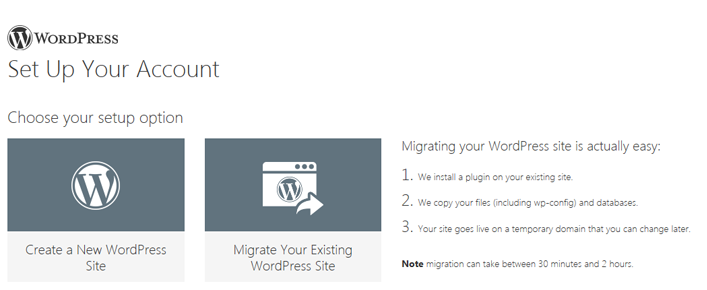
After updating the DNS settings, now you only need to review the Site settings by using different CMSs. You can use these content management systems for a better-optimized site. This would help your site to make it easily available for different search engines. WordPress website is one of the major CMSs that most of the website developers use in order to customize their websites. It would not only help the search engines to index your site but also the users will have the ease to view the content of the site.
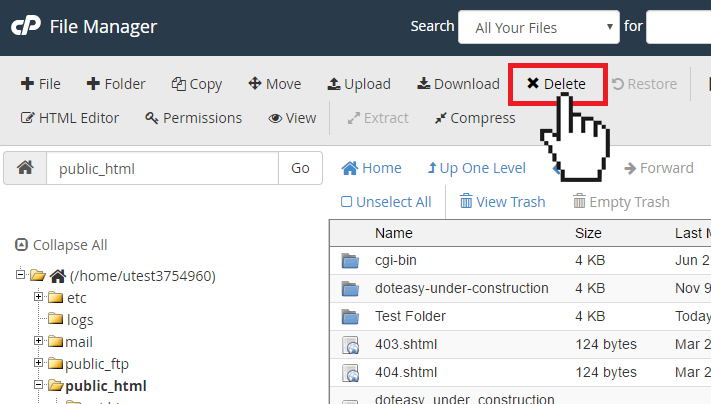
Delete Everything From Previous Hosting Account
Once you completely reviewed your site settings, you are good to go to your new web host. But before hosting your site to the new web host, you have to delete everything from the older one. So, delete all the web contents that you have in your earlier web host to go to the new one.
That’s all you need to know about the migration process for a website from an old host to a new one. We hope, the article helped you as a useful guide to know all the aspects regarding website migration.
Get 15% off on all webhosting packages! Use code 15off.